



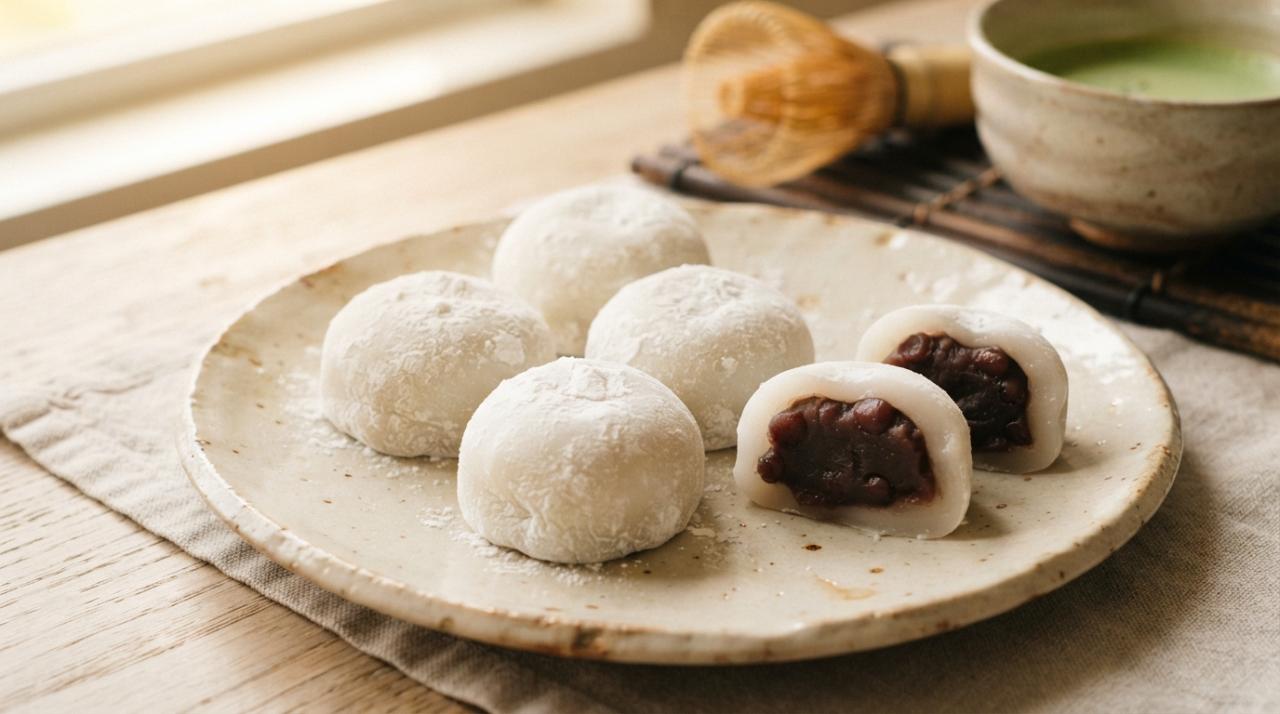
Japanese cuisine is celebrated not only for its savory dishes but also for its delicate traditional sweets. Among the most beloved is daifuku mochi, a soft, chewy rice cake filled with a sweet center. Traditionally prepared with sweet red bean paste, this popular Japanese confection combines a gentle sweetness with a distinctive texture that makes every bite memorable.
An authentic Japanese daifuku mochi recipe uses glutinous rice flour, water, sugar, and anko, a sweet paste made from red azuki beans. The outer layer becomes soft and elastic when cooked, while the filling provides a rich, naturally earthy sweetness. Although daifuku may look complicated to prepare, it can be made at home with a few ingredients and careful handling.
From Japanese tea gatherings to seasonal celebrations, traditional wagashi sweets such as daifuku reflect the importance of craftsmanship, balance, and presentation in Japanese food culture. Making them at home is a wonderful way to explore this delicious tradition.
What Is Traditional Japanese Daifuku Mochi?
Daifuku is a type of wagashi, the traditional Japanese confectionery often enjoyed with green tea. Its name is commonly associated with the idea of good fortune, and the sweet has become a familiar treat in Japanese bakeries, sweet shops, and households.
The outer covering is made from mochi, a chewy preparation traditionally associated with glutinous rice. For home cooking, sweet rice flour—often sold as mochiko or shiratamako—provides a convenient way to make the soft outer layer.
The classic filling is anko, prepared from azuki beans cooked until tender and sweetened with sugar. There are different types of anko: koshian is smooth, while tsubuan retains some texture from the beans.
Modern varieties may include strawberries, matcha-flavored dough, or other fillings. However, plain daifuku filled with sweet red bean paste remains a classic version and an excellent starting point for beginners.
Ingredients for Traditional Japanese Daifuku Mochi
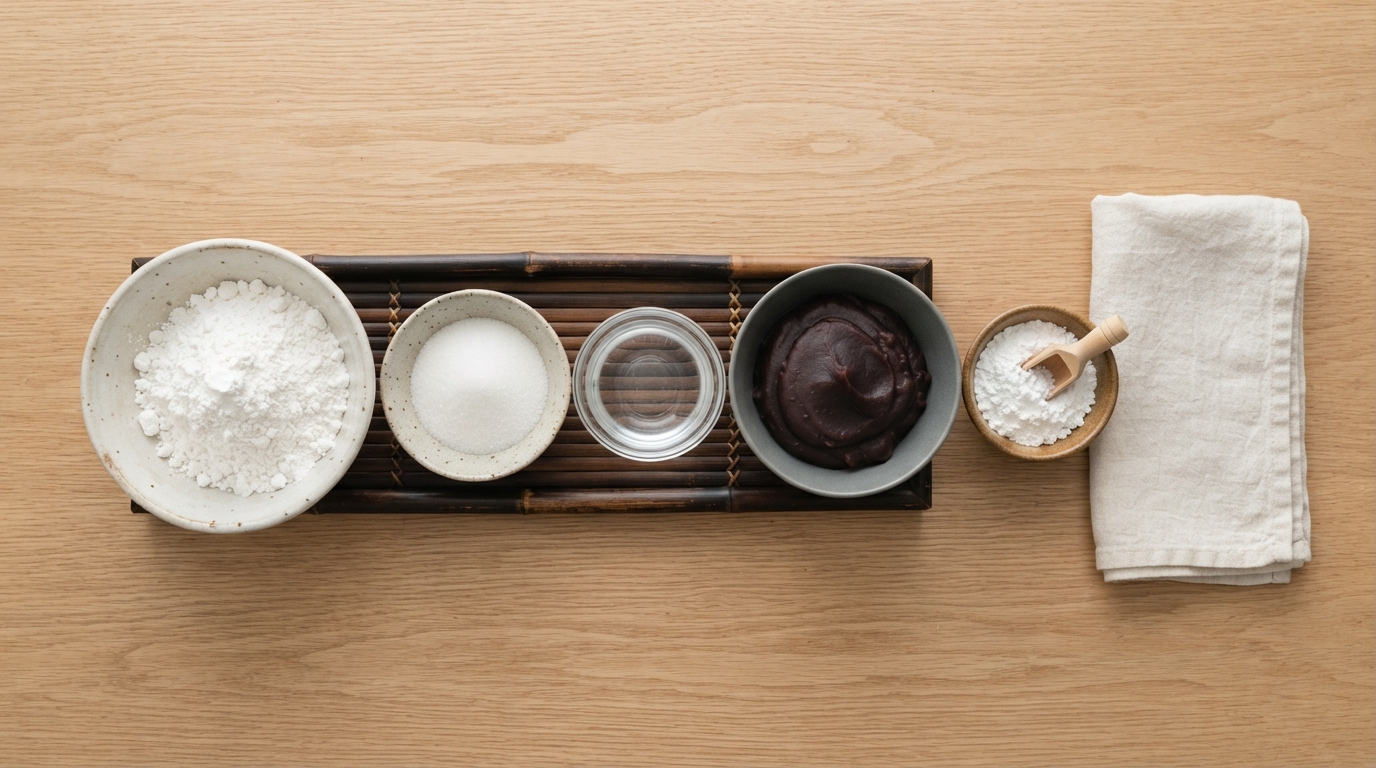
For approximately 6–8 pieces:
- 150 g glutinous rice flour, preferably Japanese sweet rice flour
- 180–200 ml water
- 60 g sugar
- 200 g sweet red bean paste (anko)
- Potato starch or cornstarch, for dusting
Use glutinous rice flour rather than ordinary rice flour. Despite its name, glutinous rice does not contain gluten; it is valued for its high starch content, which produces the characteristic chewy texture.
For the filling, you can use ready-made Japanese anko or prepare it at home by cooking azuki beans until tender and sweetening them with sugar.
Step-by-Step Guide to Making Japanese Daifuku Mochi
Step 1: Prepare the Red Bean Filling
Divide the anko into 6–8 equal portions. Roll each portion gently into a small ball and place them on a plate.
If the paste is very soft or sticky, refrigerate it briefly to make shaping easier. The filling should be firm enough to handle without becoming dry or crumbly.
Preparing the filling in advance makes the assembly process easier because the mochi dough is best shaped while it is still warm and pliable.
Step 2: Make the Mochi Dough
Place the glutinous rice flour and sugar in a microwave-safe bowl. Gradually add the water while stirring until the mixture is smooth and free of large lumps.
Cover the bowl loosely with a microwave-safe cover. Microwave the mixture in short intervals, stirring between each interval, until it becomes thick, translucent, and stretchy. The exact cooking time depends on the microwave, so check the texture carefully.
Alternatively, cook the mixture in a heatproof bowl over simmering water, stirring regularly until the dough becomes glossy and elastic.
The dough must be cooked thoroughly to achieve the correct chewy texture. Handle it carefully because freshly cooked mochi is extremely hot.
Step 3: Prepare the Work Surface
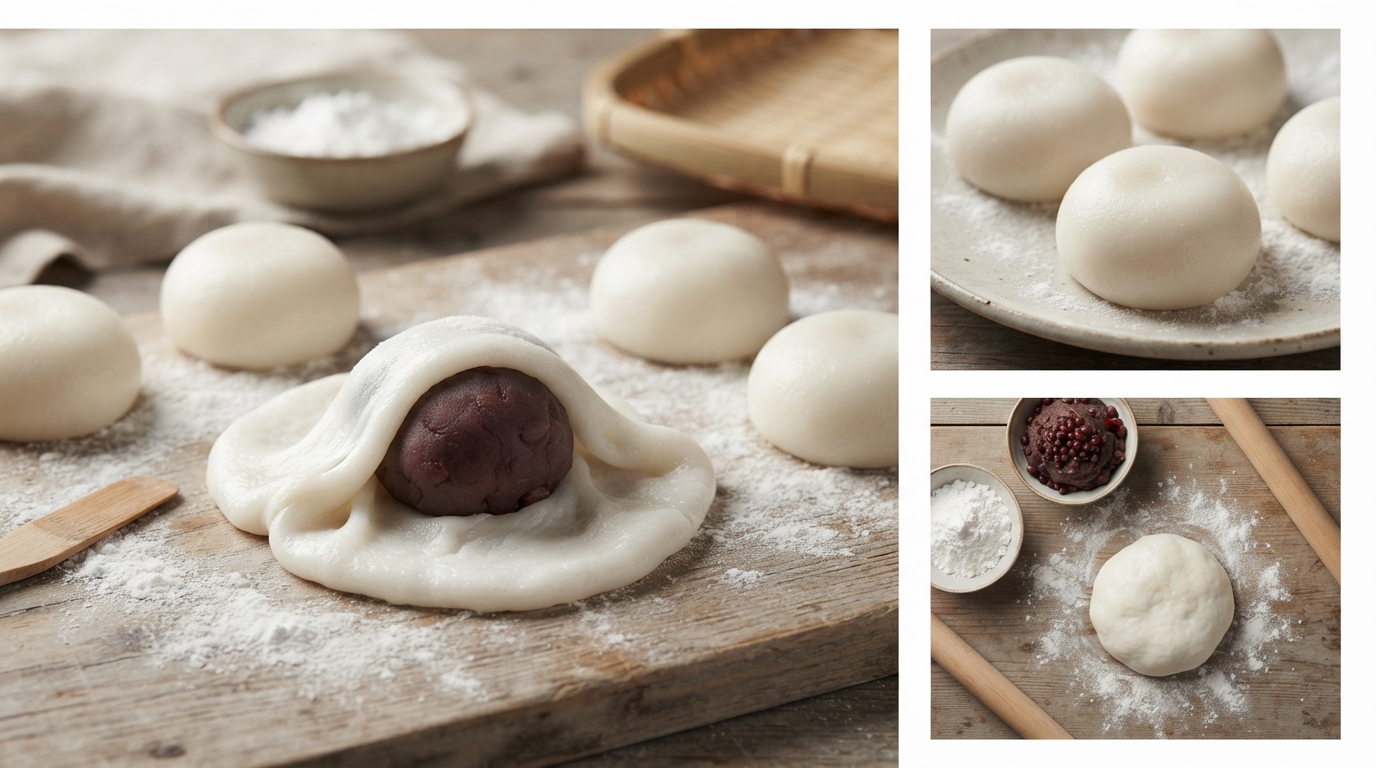
Generously dust a clean work surface or tray with potato starch or cornstarch. Transfer the warm mochi dough onto the prepared surface using a spatula.
Sprinkle a little starch over the top to prevent sticking. Allow the dough to cool just enough to handle safely while keeping it warm and flexible.
Do not add excessive starch into the dough itself. The starch is primarily used on the outside to make shaping easier.
Step 4: Divide and Flatten the Dough
Divide the dough into 6–8 equal portions. Dust your hands lightly with starch, then flatten each portion into a small round disc.
Keep the center slightly thicker than the edges where possible. This helps prevent the filling from breaking through the outer layer during shaping.
If the dough becomes too sticky, add a little more starch to your hands and work surface. Use only as much as needed to handle the dough comfortably.
Step 5: Fill and Shape the Daifuku
Place one ball of red bean paste in the center of each mochi disc. Gently lift the edges of the dough around the filling and pinch them together to seal.
Turn the sealed side downward and shape the sweet gently into a rounded ball. Smooth any obvious openings to keep the filling enclosed.
Repeat with the remaining portions. Work carefully because the dough becomes less flexible as it cools. Avoid stretching it too thin, as this can cause the filling to break through.
Step 6: Finish and Serve
Brush away excess starch using a soft, clean brush. Arrange the daifuku on a serving plate with a little space between each piece.
Serve once the mochi has cooled to room temperature and the dough has settled into its soft, chewy texture. Daifuku is especially enjoyable alongside a cup of Japanese green tea, whose gentle bitterness balances the sweetness of the filling.
Traditional Tips for Perfect Daifuku Mochi
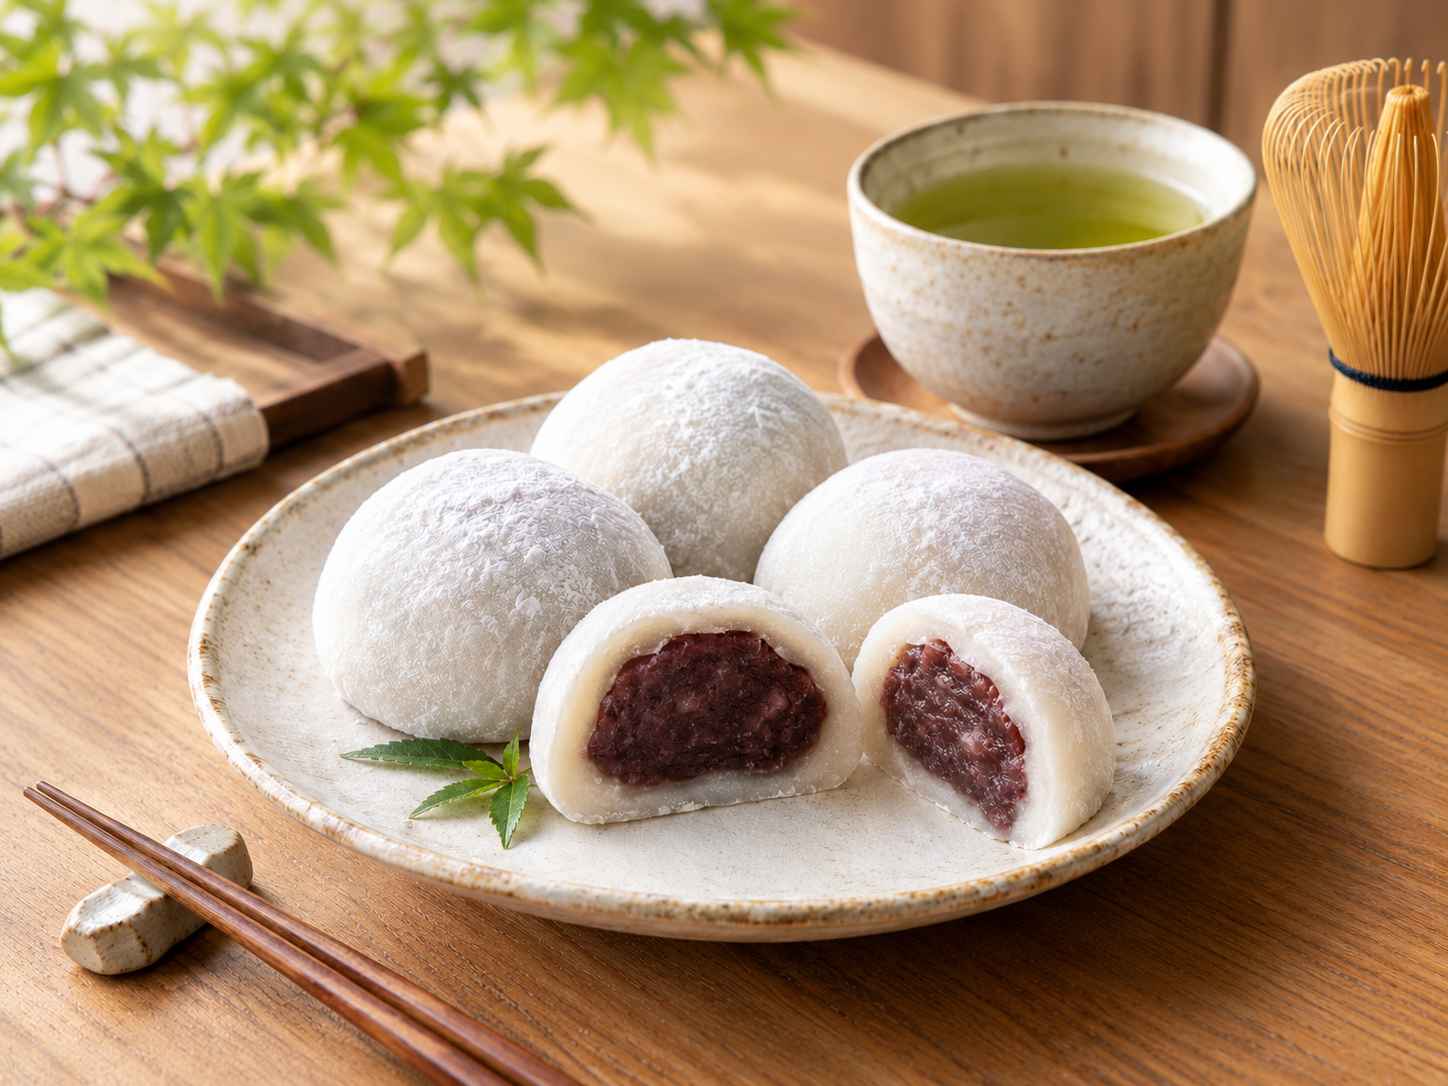
The most important ingredient is glutinous rice flour. Ordinary rice flour will not provide the same stretchy, chewy texture, so check the package carefully before starting.
Cook the dough until it becomes glossy and elastic, and keep it covered when possible to prevent the surface from drying out. Use starch sparingly on your hands and work surface, and seal the filling completely inside the dough.
Fresh daifuku is usually best enjoyed on the day it is made because the outer layer can firm up over time. Store leftovers in an airtight container at a cool room temperature for a short period, or refrigerate them if necessary. Refrigeration can make mochi firmer, so allow chilled pieces to soften before serving. Always follow safe storage practices for the filling.
Conclusion
An authentic Japanese daifuku mochi recipe introduces you to one of Japan's most treasured traditional sweets. The combination of soft, chewy rice dough and sweet red bean filling creates a simple yet distinctive dessert that reflects the care and craftsmanship of Japanese confectionery.
Although shaping each piece takes a little practice, using the correct rice flour, preparing the filling in advance, and working with warm dough will help you achieve excellent results. Serve homemade daifuku with green tea or enjoy it as a sweet treat after a Japanese-inspired meal.
By learning this traditional recipe, you can bring a small piece of Japanese food culture into your kitchen and appreciate the beauty of a dessert made from just a few carefully prepared ingredients.
Most Popular













Anaya
comment1