



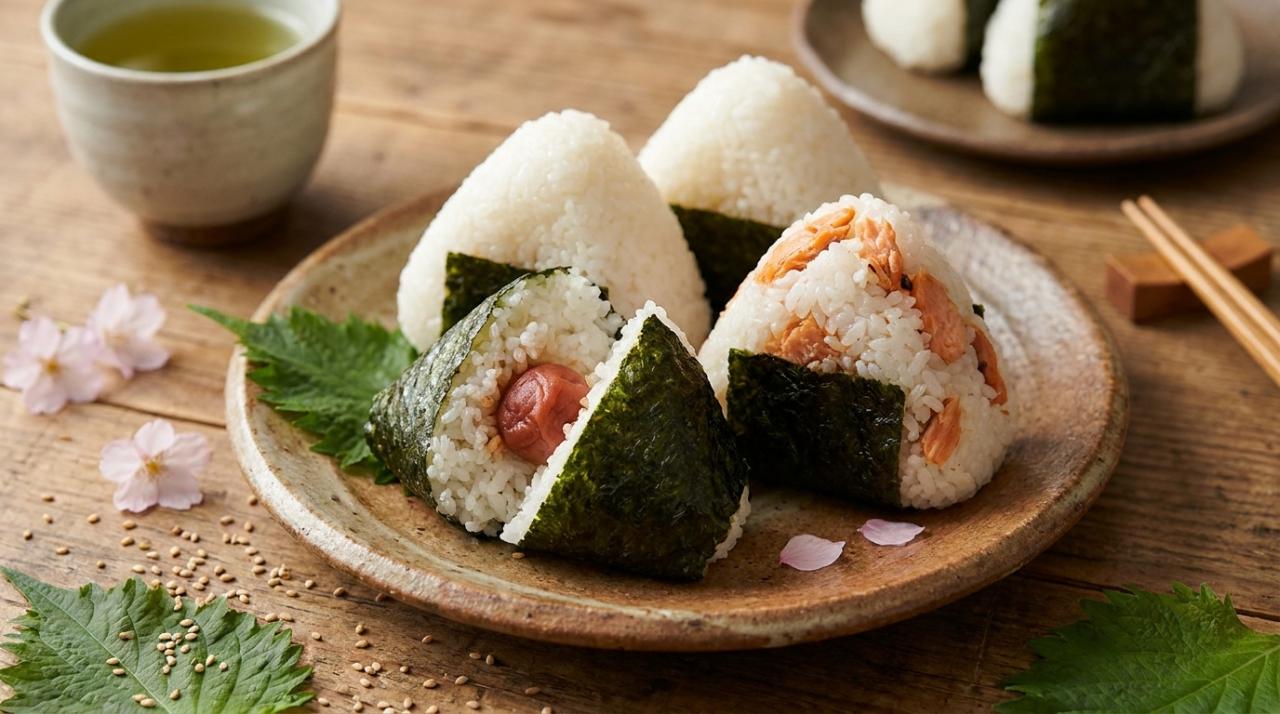
Japanese cuisine is famous for transforming simple ingredients into delicious dishes with beautiful presentation. One excellent example is onigiri, a traditional Japanese rice ball enjoyed for generations. Made with cooked Japanese rice and shaped by hand or using a mould, onigiri is a convenient food commonly packed into lunchboxes, carried on journeys, and prepared for quick meals at home.
A traditional Japanese onigiri recipe does not require complicated cooking techniques or expensive ingredients. The key is using the right rice, preparing it correctly, and choosing fillings that complement its natural flavor. Popular traditional fillings include salted salmon, pickled Japanese plums known as umeboshi, and seasoned kombu seaweed.
Unlike sushi rice, which is typically seasoned with vinegar, sugar, and salt, onigiri rice is generally left unseasoned or lightly salted. This allows the natural taste of the rice and the filling to remain the focus.
What Is Traditional Japanese Onigiri?
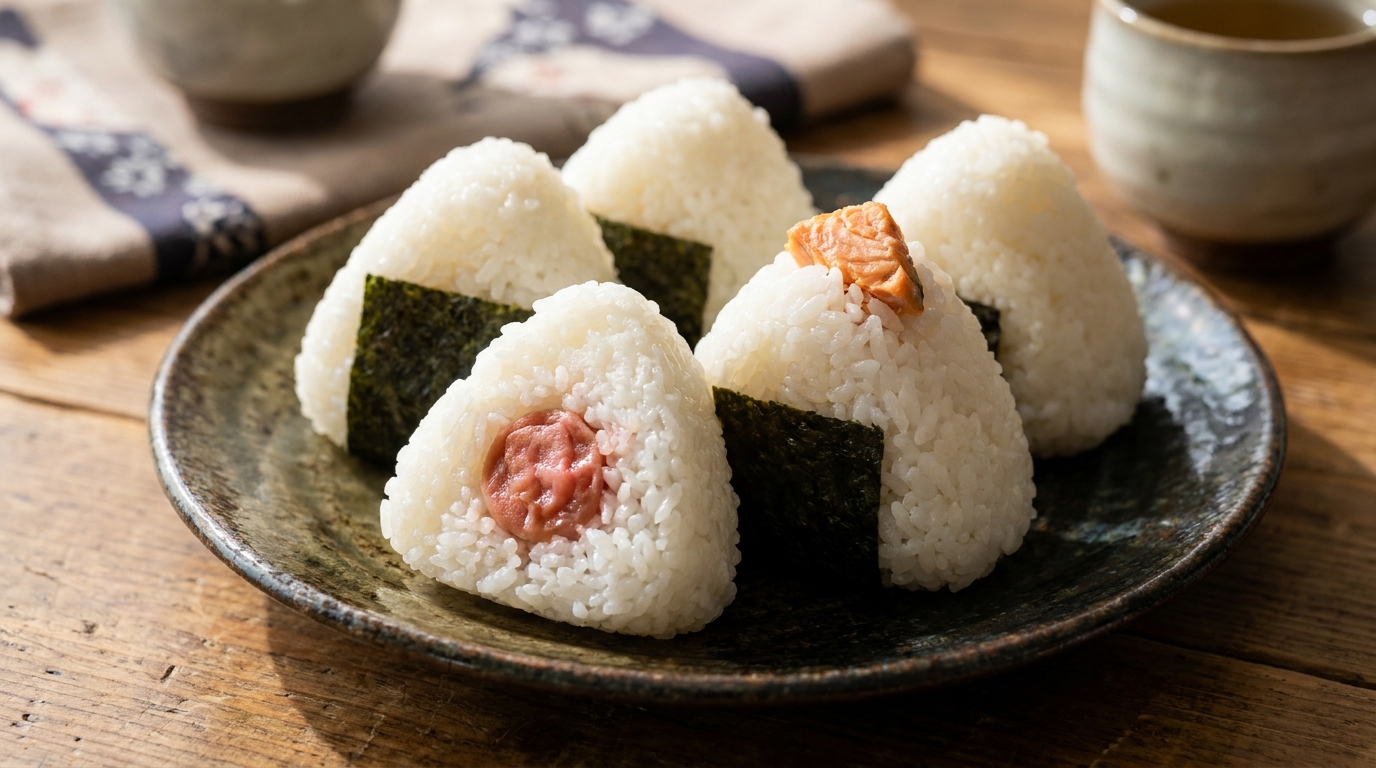
Onigiri, also called omusubi in some regions and households, is a Japanese dish made by shaping cooked rice into triangular, rounded, or cylindrical forms. It is often wrapped partially or completely in nori seaweed to make it easier to hold and eat.
Onigiri has a long history in Japan, where rice has been a central part of everyday meals. Its simple preparation made it practical for farmers, travelers, and workers who needed portable food. Today, onigiri remains popular in Japanese homes, convenience stores, and specialist rice-ball shops.
Although modern versions include many creative fillings, traditional onigiri celebrates the combination of rice, salt, and a small amount of flavorful filling.
Ingredients for Traditional Japanese Onigiri
For the rice balls:
- 2 cups Japanese short-grain rice
- Water, according to the rice package instructions
- Fine salt, as needed
- 2 sheets nori seaweed, cut into strips
Traditional filling options:
- 100 g cooked and flaked salted salmon
- 2–3 umeboshi (Japanese pickled plums), pitted
- 2 tablespoons seasoned kombu seaweed
You do not need to use all three fillings. Choose one or prepare several varieties to create a selection of Japanese rice balls.
For the best texture, use Japanese short-grain rice. Long-grain rice tends to be less sticky and may not hold its shape as easily.
Step-by-Step Guide to Making Japanese Onigiri
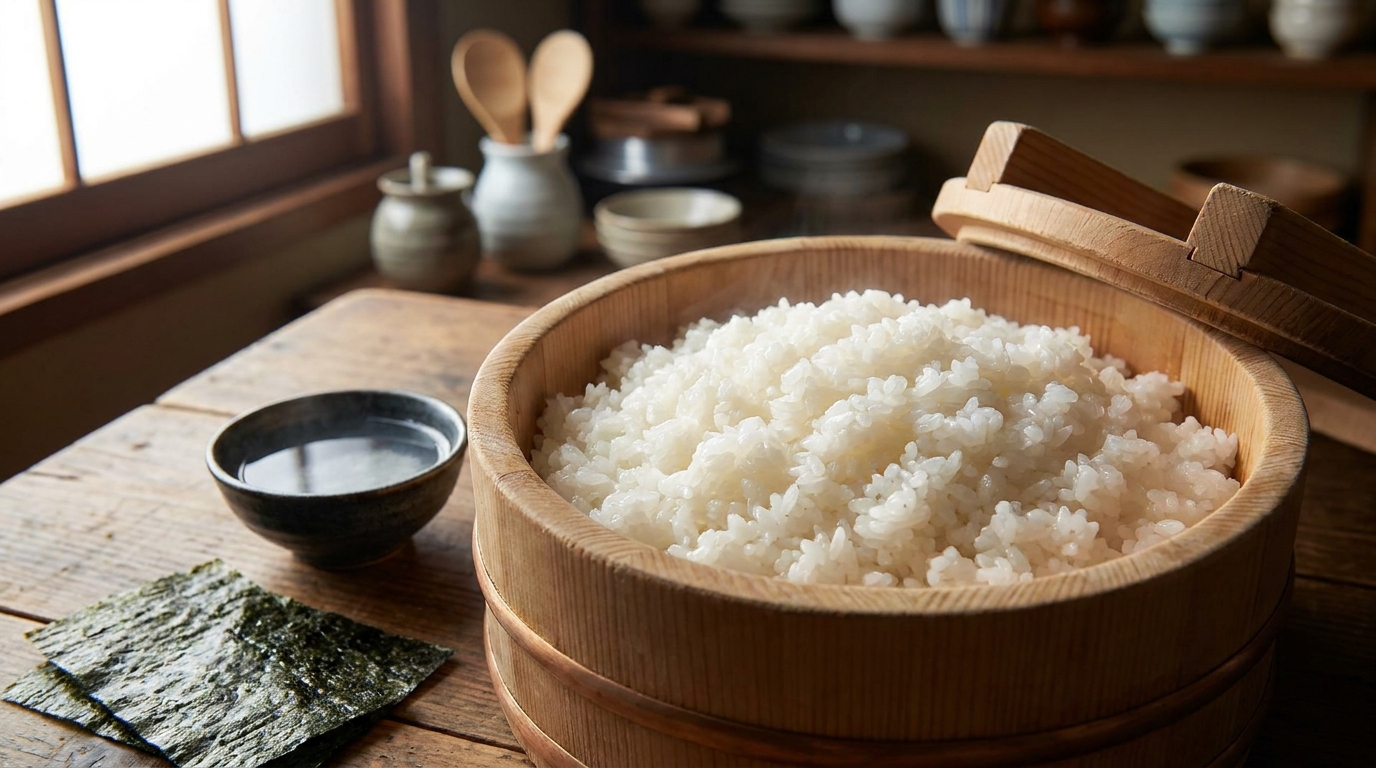
Step 1: Wash and Cook the Rice
Place the rice in a bowl and rinse it with cold water, gently rubbing the grains together. Drain and repeat until the water becomes clearer.
Cook the rice in a rice cooker or saucepan according to the package instructions. Once cooked, allow it to rest for approximately 10 minutes with the lid on. The rice should be tender, slightly sticky, and easy to shape.
Step 2: Prepare the Traditional Fillings
For salmon onigiri, cook the salmon thoroughly, remove any bones, and flake it into small pieces. A lightly salted salmon preparation works particularly well.
For umeboshi onigiri, remove the pits from the pickled plums and break the flesh into smaller pieces. Umeboshi has a strong sour and salty flavor, so a small amount is usually enough.
For kombu onigiri, use ready-seasoned kombu or finely chopped kombu prepared with Japanese seasonings. These fillings provide different flavor profiles while preserving the simplicity of the dish.
Step 3: Prepare Your Hands
Place a small bowl of water nearby and lightly wet your hands to prevent the rice from sticking. Rub a little salt over your palms.
Traditionally, onigiri is shaped while the rice is still warm enough to handle comfortably. Allow it to cool slightly if necessary, and never handle steaming-hot rice with bare hands.
Step 4: Shape the Rice Balls
Take a portion of rice and gently flatten it in your palm. Place a small amount of filling in the center, then cover it with another portion of rice.
Use both hands to shape the rice into a triangle or rounded ball. Apply enough pressure to help the rice hold together, but avoid squeezing it too tightly. The grains should remain distinct rather than becoming a dense mass.
Repeat the process with the remaining rice and fillings.
Step 5: Add the Nori Seaweed
Wrap a strip of nori around the bottom or side of each rice ball. The seaweed adds a pleasant roasted flavor and makes the onigiri easier to hold.
For the crispest texture, add the nori shortly before serving. If you prefer soft seaweed, wrap the onigiri earlier and allow the nori to absorb some moisture from the rice.
Traditional Tips for Perfect Onigiri
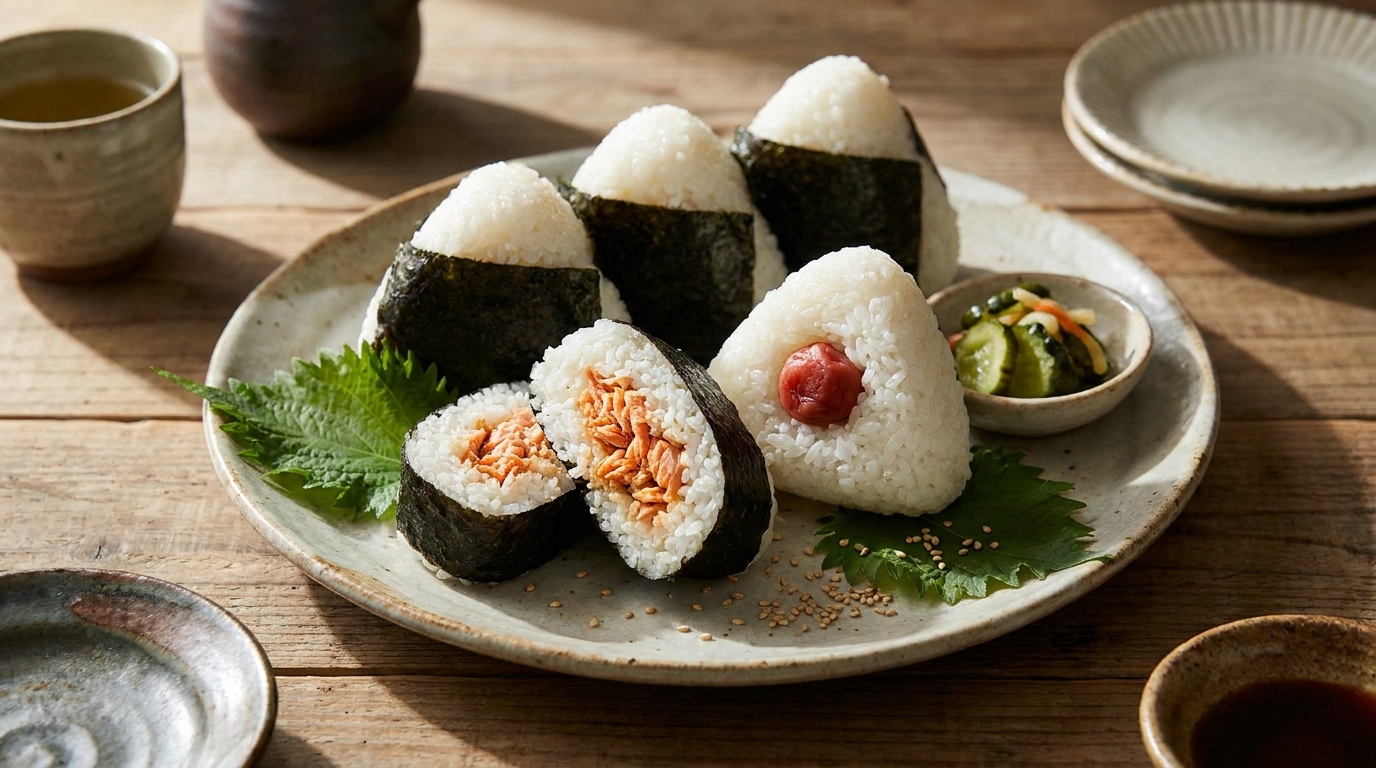
The most important factor is choosing the correct rice. Japanese short-grain rice provides the moisture and stickiness needed to hold the shape naturally.
Keep the fillings moderate so the rice balls do not split apart. Use clean hands and lightly salted palms to improve handling and enhance flavor.
Onigiri can be enjoyed at room temperature for a short period when handled safely, but cooked rice should not be left unrefrigerated for extended periods. If preparing it ahead, cool and refrigerate it promptly, keep it chilled during transport, and follow safe food-storage practices.
Conclusion
A traditional Japanese onigiri recipe proves that delicious food does not need complicated ingredients or elaborate preparation. With properly cooked rice, a flavorful filling, and a sheet of nori, you can create a classic Japanese dish that is both practical and satisfying.
Whether you choose salted salmon, sour umeboshi, or seasoned kombu, homemade onigiri offers a simple way to explore Japanese culinary traditions. Prepare a few varieties for lunch, a picnic, or a Japanese-inspired meal and enjoy the timeless appeal of these humble rice balls.
Most Popular











Anaya
comment1